Monday, August 27, 2012
Earring Holder
Today I made an earring holder for all of my earrings because I was sick of losing them all the time! I took out the back and glass of a black frame and hot glued left over lace from my magnetic makeup board project. Now they match :) That is all it took! The part that took forever was rearranging the earrings but now I know where everything is and can see my options.
Sunday, August 12, 2012
Decorated Wreaths
My mom and grandma went to Hathorne Hill craft fair where they found wreaths decorated with antique pieces. They thought this would be a good craft for me, my sister, mom, aunt, cousin, and grandma. Today we all got together and decorated our own wreath. My sister and I chose to spray ours with glitter to add some extra blingage!
This is my mom's...Wine and Grapes
My sister did a Halloween one!
And my cousin did a hockey one...
My grandma did a Christmas one and a bird one. And my aunt did a Halloween one as well. Basically you can just pick a thing, collect little nick-nacks and start glue gunning! My mom had to wire a few of the heavier items.
This is my mom's...Wine and Grapes
This is mine...girly!!
My sister did a Halloween one!
And my cousin did a hockey one...
My grandma did a Christmas one and a bird one. And my aunt did a Halloween one as well. Basically you can just pick a thing, collect little nick-nacks and start glue gunning! My mom had to wire a few of the heavier items.
Monday, August 6, 2012
Magnetic Makeup Board
I love this one! The base is a flat cookie sheet. I painted that with black paint and sprinkled gold glitter on it. When that was dry I covered it with lace fabric and hot glued it to the back. Next I outlined it in lacy ribbon in order to cover the curve in the sheet. Then I hot glued small circular magnets to the back of each makeup so that it'd be easy to switch once I run out. For the brush holder, it was originally maroon and leather, but I spray painted it black, added gold glitter, and outlined the top with left over lacy fabric. Two magnets were needed to hold up the heavy container with all the brushes.
Tuesday, July 24, 2012
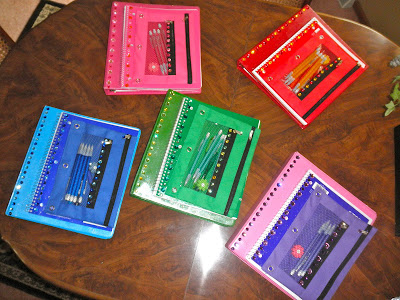
Decorated School Binders, Notebooks, and Pencil Cases!
Green
Purple
Blue
Red
Pink
First, I Mod-Podged the binders and notebooks with glitter Mod Podge. Next I hot glued different gems down the seems and on the pencil case. There's a gem on the zipper as well. Cheap way to make school a little more fun :)
Friday, July 20, 2012
Tuesday, July 17, 2012
Sunday, July 15, 2012
Mod-Podged Vase
This was originally a clear vase but I Mod-Podged it and added blue and purple flowers...the colors of my room :)
Mod-Podged Birdhouse
I made this for my Grandma. It started as a wooden birdhouse and then I Mod-Podged on gardeny things my grandma loves!
Decorated Letter
For secret santa on the Pom team I took a plain letter, painted it pink, and then added zebra scrapbook paper and pictures.
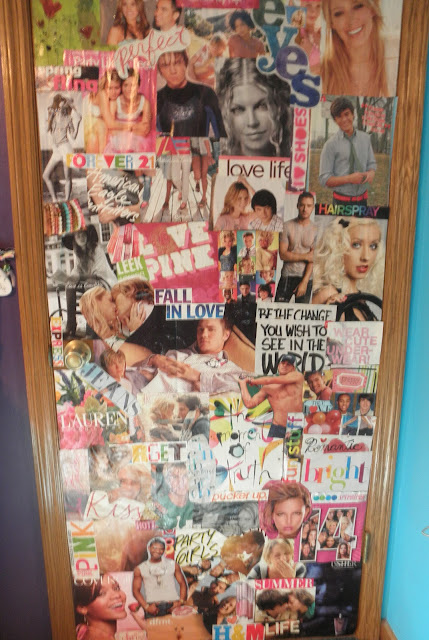
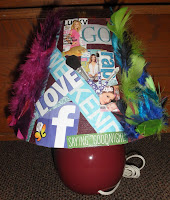
Mod Podged Lamps
This was my first time using Mod Podge. I used old magazines and pearls and feathers for this fun lamp :)
DIY Garter
For my senior year prom I couldn't find any garter that really went with my dress so I decided to make my own. First I bought fabric and cut it to my desired length and width. Next I hand sewed a seam and added a black fabric with lace over. Finally I sewed the jeweled button and added some rhinestones for a little extra bling!
String and Pebble Craft
First I bought a black canvas. Then I poked little nails into the outline of the word "shine." Next I took string and wrapped it around in a bunch of different ways...and tada! :)
Thursday, July 12, 2012
Glamified Luggage
This luggage started out an ugly olive green. With the help of some scrapbook paper, Mod-Podge, fabric and jewels, I turned it into this fun decorative luggage.
Subscribe to:
Posts (Atom)


